Citrix Netscaler Gateway using self signed certificate
Since Netscaler version 10, its been a lot easier to setup a Netscaler Gateway for your XenApp / XenDesktop installation using the wizard. But there is no way to get around the server certificate, which is needed to get the VIP to response to queries from clients. A public singed certificate costs money and you might want to safe those money because you only need it for testing.
Create a Root Certificate Authority (CA) Certificate.
Go to Configuration -> Traffic Management -> SSL
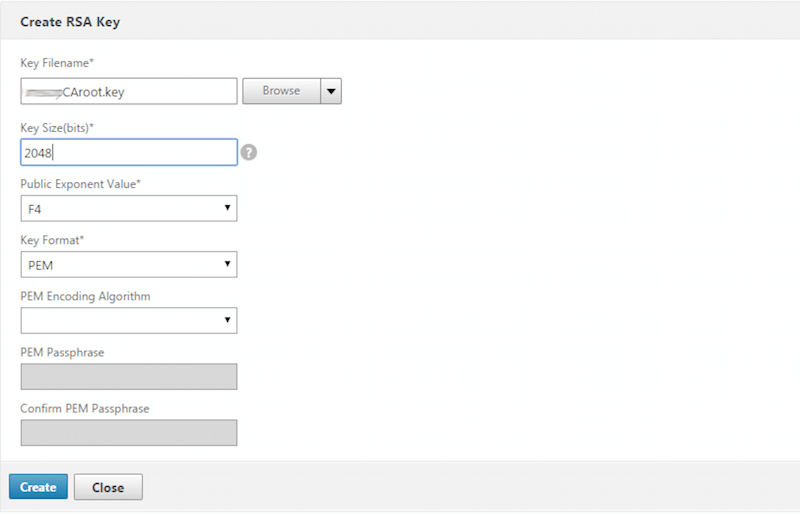
Click on “Create RSA Key”.
- Fill out the “Key Filename” with your own filename.
- Write 2048 in “Key Size(bits)”
- Click “Create”
Create a Root CA CSR.
Go to Configuration -> Traffic Management -> SSL
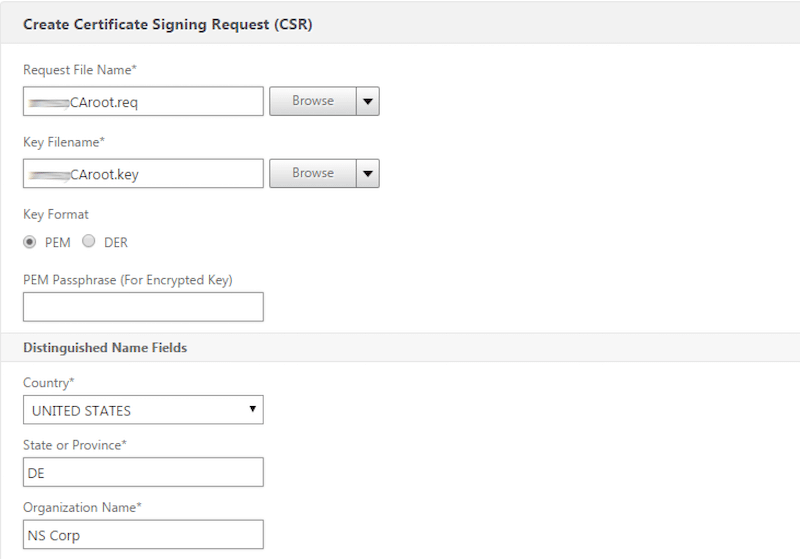
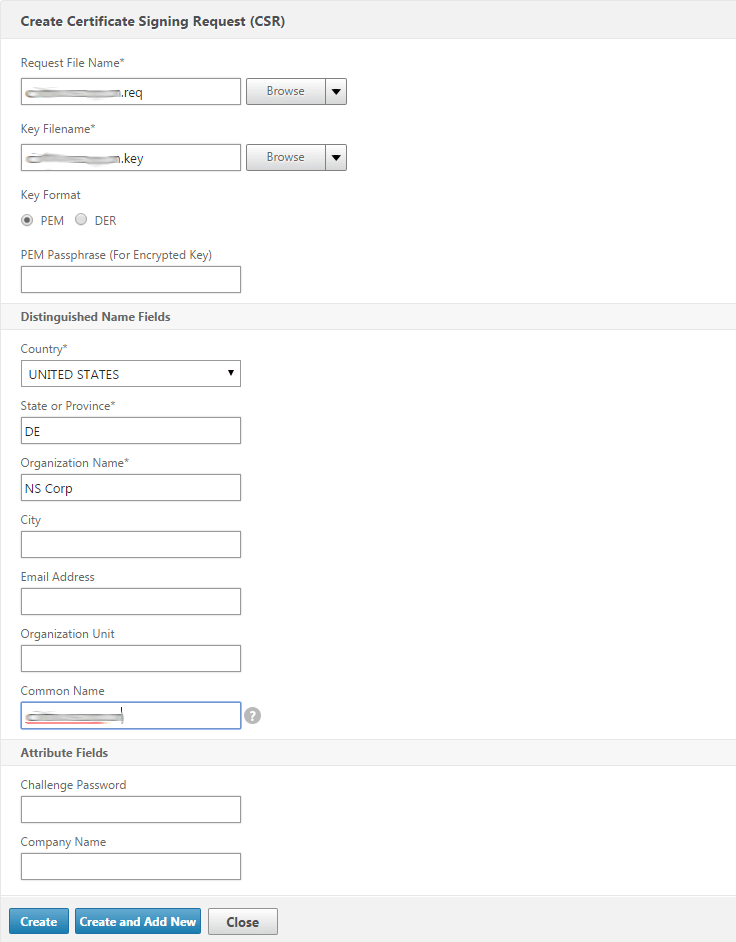
Click on “Create Certificate Signing Request (CSR)”.
- Fill out the “Request File Name” with your own filename as shown bellow.
- For the “Key Filename”, browse for RSA Key from the previous step.
- Fill out the “Distinguished Name Fields”.
- Click “Create” at the bottom of the screen.
Create a Root CA Certificate.
To do that go to Configuration -> Traffic Management -> SSL
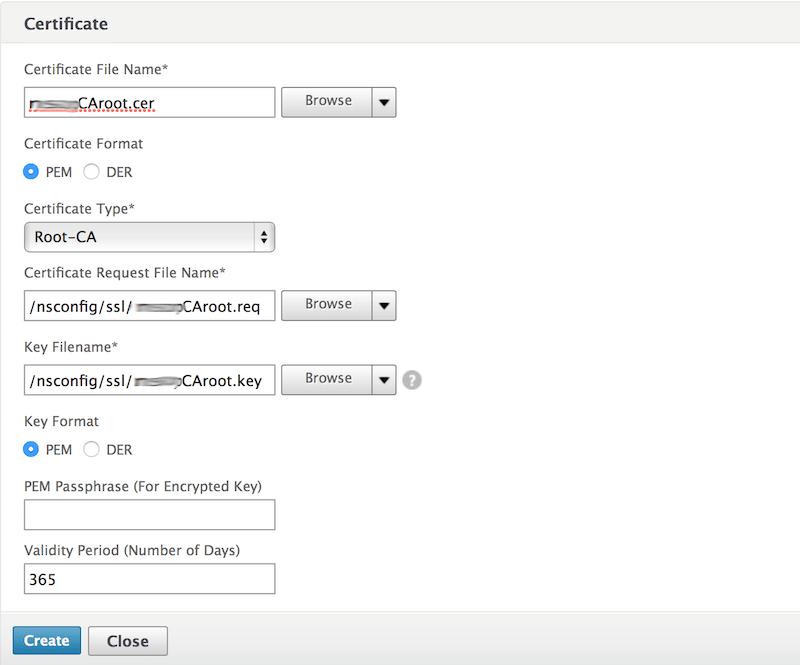
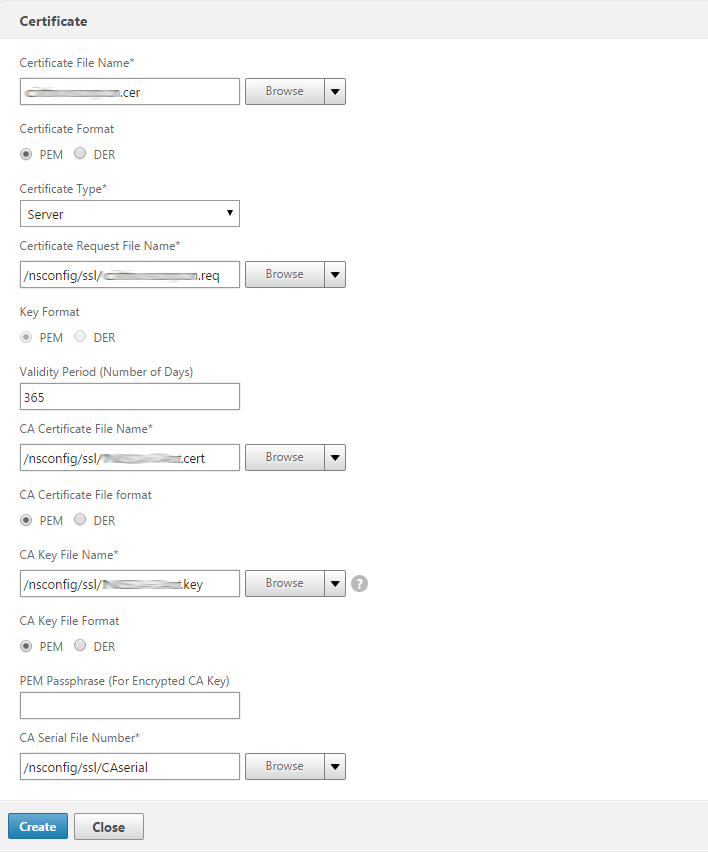
Click “Certificate”.
- Fill out the “Certificate File Name” with your own Filename.
- Make sure the “Certificate Type” is set to “Root-CA”.
- Browse for the “Certificate Request File” by clicking on “Browse”.
- Browse for the “Key Filename” by clicking on “Browse”.
- Click on “Create”.
Create certificate for Netscaler Gateway
Create a RSA key
To do that that you need to go to Configuration -> Traffic Management -> SSL
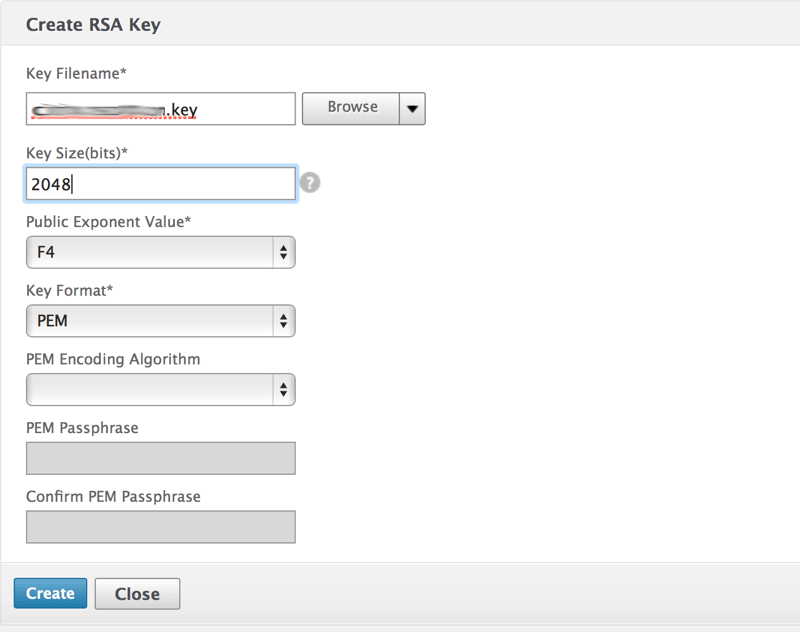
Click “Create RSA key”.
- Fill in your own filename. I choose to call the file the same as the domain name ending it with .key.
- Set “Key Size” to 2048.
- Click “Create”
Create the CSR
Go to Configuration -> Traffic Management -> SSL
Click “Create Certificate Signing Request”.
- Fill the “Request File Name” with your own name.
- Browse for the key created in the previous step.
- Fill out “Distinguished Name Fields” as shown below. Fill out “Common Name” with your FQDN for your Netscaler Gateway.
- Click “Create”.
Create Server Certificate for Netscaler Gateway
Go to Configuration -> Traffic Management -> SSL
Click “Certificate”
Fill “Certificate File Name” with your own filename.
Set Certificate Type to “Server”.
Browse for the CSR file created in previous step.
Browse for the Root CA Certificate created earlier.
Browse for the Root CA Key file.
Browse for the CAserial file.
Click “Create”.
Your certificate is now ready to use on your Netscaler Gateway.